


How to adjust the position of Domino 45411 charge electrode assembly?
1. Loosen the fixing screw of 45411 charge electrode assy and take it off from the positioning pin. And don’t touch the position of the ink line.
2. Press the “ink-line” button and open the ink line;
3. Slide the charge electrode into the positioning pin, and pay attention to observe the ink line and its position in the charge electrode. If the ink line touches the charge electrode, then the charge electrode should be removed;
4. At the rear of the printhead, please loosen the screw which secures the charge electrode bracket . Move the charge electrode to the old charge electrode, please make sure it will not touch the ink line when it slides into the mounting post. Tighten the fixing screws and fix the charge electrode;
5. Check the position of the ink line in the charge electrode and slightly loosen the fixing screws of the mounting plate to make the charge electrode can be moved, then adjust it’s position to make the ink line is in correct position in charge electrode .
6. Tighten the fixing screws of the mounting plate and recheck the position of the ink line in the charge electrode ;
7. After completed the process of adjusting the position of the domino charge electrode assy, the print head can be cleaned if necessary.
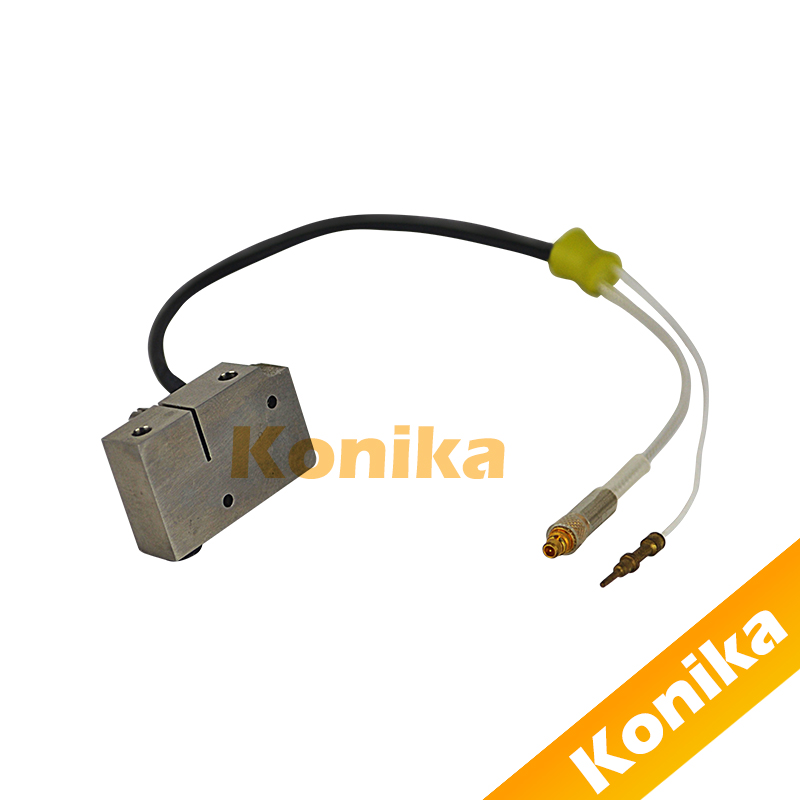
How to replace Domino 45411 charge electrode assembly correctly?
1. Normally shut down the domino inkjet printer and disconnect the power supply;
2. First unscrew 6 screws , then remove the print head cover and seal;
3, Find charging electrode cable and the inside cable connector of printhead conduit, and disconnect the charging tank cable;
4. Remove the single screw in the charge electrode and pull out the charge electrode along the positioning pin;
5. When replacing a new charge electrode, you can follow the above steps in reverse;
6. Finally, you can use a heated spray gun to fasten the heat shrink tubing at the electrode cable connector and re-install the printhead cover.
Note: It is forbidden to adjust the screws on the mounting plate on the rear of the print head base since these screws have already fixed the mounting plate in the preset correct position.
And to learn more about the 45411 Domino Charger or other Domino accessories, please contact us. Thanks!
Post time: Jul-05-2018